


Hello! Today
we will
be walking you through changing the Outgoing email server settings in
Apple
Mail as per our recent server
upgrades! Just follow this
step-by-step guide and you’ll be back to sending out
email in no time!
The following tutorial was created using Mac OS 10.5; if you are using 10.3 or 10.4, please follow the below instructions, then refer to the note below regarding the differences between 10.5 and earlier versions. Thank you very much!
Open Apple Mail
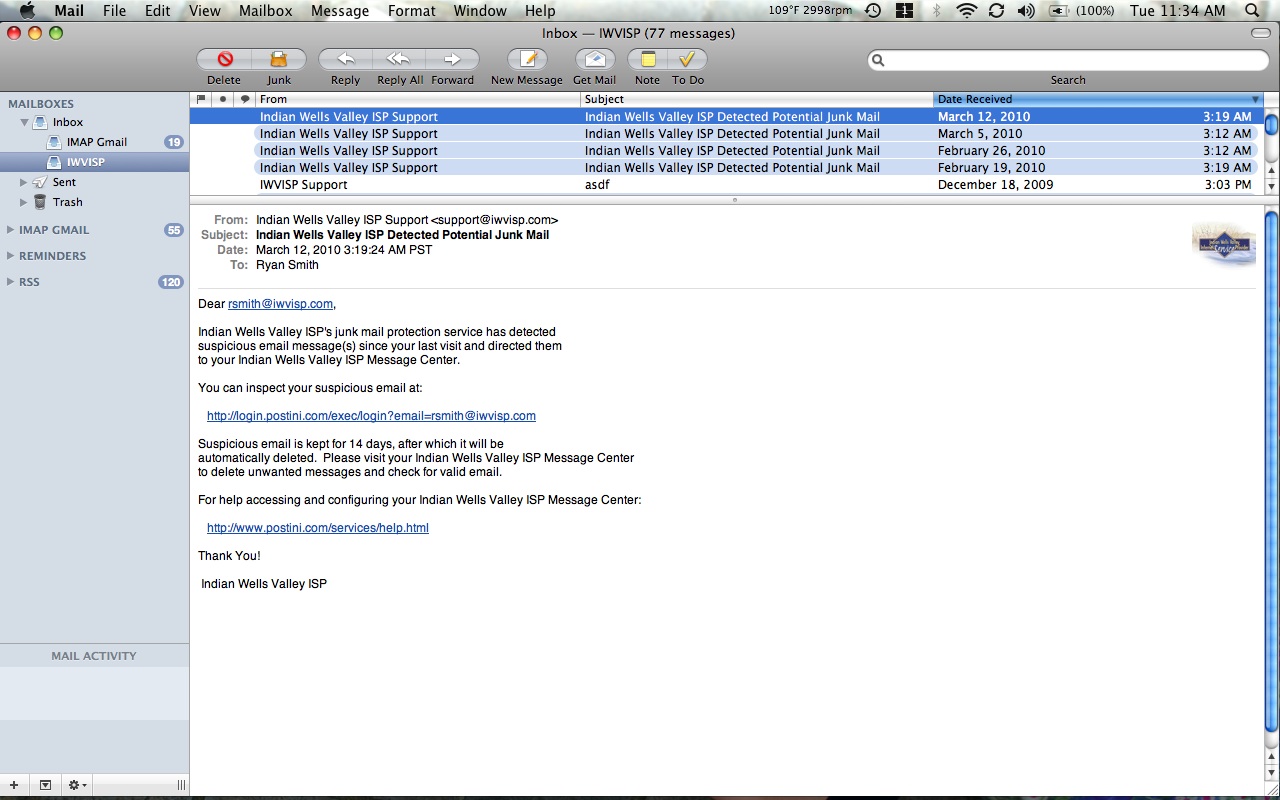
Go up to the Mail menubar option, and mouse down to the “Preferences” option, then click it.

This will open the Preferences window; Click on the “Accounts” tab, signified by the blue @ symbol. This section displays all of your account settings and passwords.
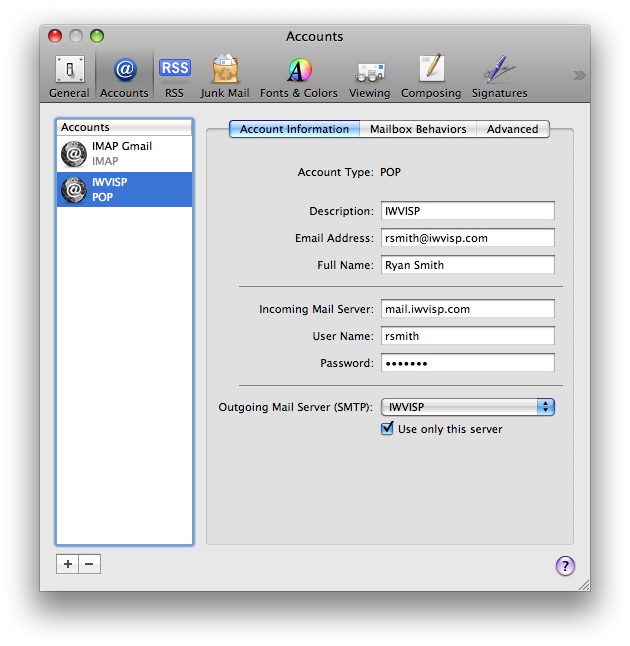
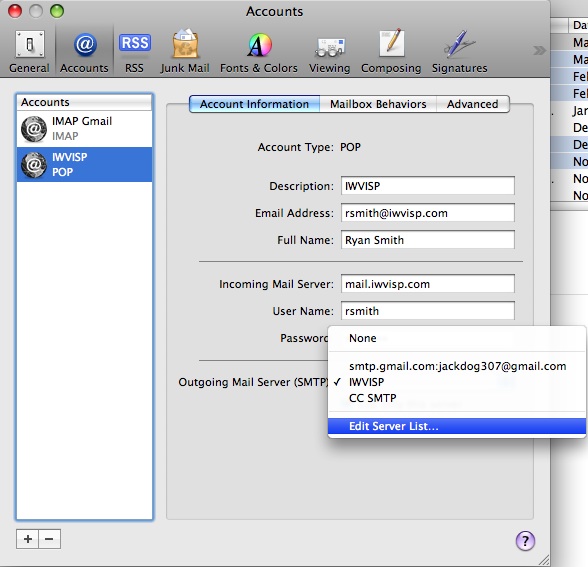
Down at the bottom of the “Account Information” section, there will be an Outgoing Mail Server (SMTP) dropdown menu. Click on the dropdown menu to reveal the list of outgoing servers your computer has configured. All the way at the bottom of the list is an “Edit Server List”. Click on this.
For Mac OS 10.3 &10.4 Users: Click on the "Server Settings" button below the "Outgoing Mail Server (SMTP)" in lieu of "Edit Server List". This button will take you to the area where the proper authentication changes can be made.
On the Outgoing servers list window, click on the “Advanced” pane in the middle of the window. This will list the preferred outgoing port numbers and authentication settings. Make sure authentication is set to “Password”, and that your corresponding username & password are entered into the fields below.
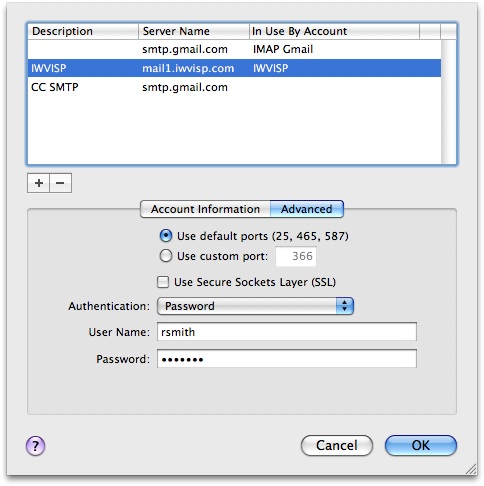
Once the required info is input, hit OK out of the Outgoing Servers List window, then hit the red circle on the upper left corner of the Preferences window. The settings will be automatically saved when OK is hit on the Outgoing Servers List page.
That’s it! You can try sending a test message to a friend or support@iwvisp.com. Thank you very much!
[Welcome to IWVISP] [Customer
Support] [Local
Events]
[News
Headlines] [Businesses] [Users] [Sign
Up Here!]
If you
have other questions or comments about our web service contact:
support@iwvisp.com